Easyfix Trackglaze Vertical – Sliding Secondary Glazing
How to use Trackglaze Vertical
Measuring and Installing Trackglaze Vertical
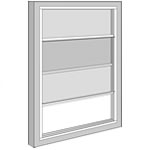
Trackglaze Vertical is a DIY sliding insulation system, for heat loss and noise protection. When the two panes are closed, bristle seal insulates within both tracks and across the visible joint. Handles clip onto the top and bottom of both panes and Stop Strips fix onto the track edges propping the panes open or raised, or stopping them opening. The system works best with 4mm Polycarbonate glazing sheet, as it is tougher than acrylic, and glass should never be used with it. Based on your measurements, the panes can meet at a height to align with the outer window. This is particularly useful for sash windows, allowing access to the centre locking mechanism before opening either top or bottom pane for ventilation.
It should be noted that the panels, when not propped, may slide due to gravity. For large heavy panes this can be dramatic and sudden. The panes are perfectly stable and will not move when correctly stopped, but if you have any reservations about the safe operating of such a system in your home, another option could be to fit one of the Magnetic systems along with the Sash Add-on kit.
Installation is made simple by the self-adhesive tape which is on every component, and the track lengths can be secured with other appropriate fixings if required, making sure that any screws used have countersunk heads.
Size Restriction – Trackglaze Vertical is restricted to window recess dimensions no more than 2m in height and 1.2m width.
The window cavity to be insulated must be square and true and cannot be sloping by more than 1mm in height or width. It is best to square up the cavity, if needed, before fitting Trackglaze.
Trackglaze Vertical is available in White and Brown and each kit is supplied fully packaged, including full fitting instructions and contains the following components:
- 2 lengths – 2000mm Self-adhesive Double Track
- 2 lengths – 1200mm Self-adhesive Double Track
- 4 lengths – 1200mm Handle Profile
- 4 lengths – 2000mm Stop Strips
- 12m coil of Bristle Seal
- 3 Surface Preparation Wipes
The Kits can be purchased individually or in packs of packs of three.
Trackglaze Vertical needs to be installed inside a window cavity. If this is not possible then you need to create one using either wood battens or the Window Conversion Angles we can supply, taking care to make the cavity to the correct size for any sheets you have ordered.
- Bottom Sheet – Decide at what height you want the join to be and measure to the bottom of the cavity, subtract 11mm to give you the height of the bottom sheet.
- Top Sheet – Take the full height of the cavity, subtract 6mm and then subtract the height of the bottom panel (as calculated in step 1) This will give you the height of the top sheet and allows for them to overlap at the join.
- Both sheets are 6mm less than the cavity width.
For example; a window cavity that is 1003mm high, 500mm wide and the eyeline needs to reach 535mm from the bottom, these are the calculations: – 535mm less 11mm = 524mm height of bottom pane – 1003mm less 6mm less 524mm = 473mm height of the top panel – 500mm less 6mm = 494mm width for both therefore the pane sizes to order in this case are 524 x 494mm and 473 x 494mm.
Tools required to fit are a fine tooth saw, tape measure, pencil and a pair of scissors.
- Cut the top and bottom tracks to the width of the cavity and stick Bristle Seal into the bottom of both channels on each length.
- Stick the bottom track into position within the cavity. Note: For all sticking down, you can place the track in position with a small amount of the adhesive cover removed and folded outwards, it can then be slowly and carefully stripped out from under the correctly positioned track.
- With the top track held in position, measure and cut the tracks to fill the space on each side, then dry fit to ensure good overall assembly.
- Stick Bristle Seal at the sides of each sheet on one side only, where this is to be enclosed in the side tracks. The panes should have the Bristle Seal facing the centre leg of the track at all times.
- Cut 4 lengths of Handle profile to fit between the side tracks. Clip a piece over the top and bottom of the exposed edges, making sure the lip of the handle faces out and is on the opposite side to the Bristle Seal stuck down the sides. The flat faces of the handle profile should be facing each other.
- Place the panes within the side tracks, then lift both tracks and panes up and into position over the bottom track. Let the panes settle into the bottom track, this will help position the side tracks correctly.
- Stick the side tracks into position, then likewise stick the top track in place.
- Using small pieces of Stop Strip to help if required, close both panes fully, the Handles should overlap in the centre. Open the panes and stick Bristle Seal to the inside of both centre Handles, making sure that when fully closed, the Seals interact to seal the window. You can use double widths of bristle for a wider seal if required.
- Cut pieces of Stop Strip for both sides to secure the top pane, always making them the full length between where the pane is to sit and the bottom track. Additional lengths can be cut for propping the panes open, or if at any point Strips get lost. Always push the entire length of Stop Strip onto the tracks when using, to avoid slippage of the panes.
Note: For wide windows, there may be sufficient flex in the Polycarbonate panes to fit and remove when the tracks are fixed in position. The narrower the pane the less feasible this is, so care must be taken not to force a pane in or out. Use of the Window Conversion Angles will allow a side to be unscrewed and removed should the panes need removing.
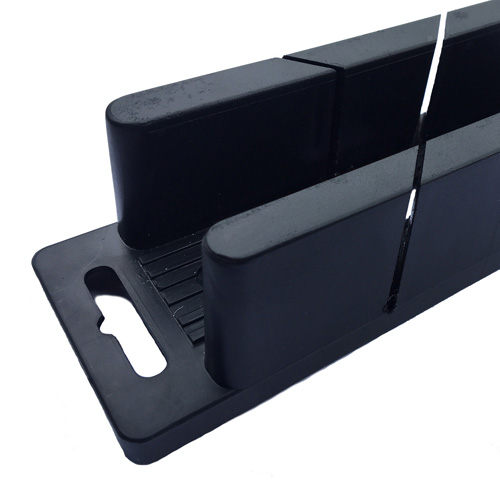
- Mitre blocks are available to purchase to help cut the 45-degree ends required for the picture frame finish.
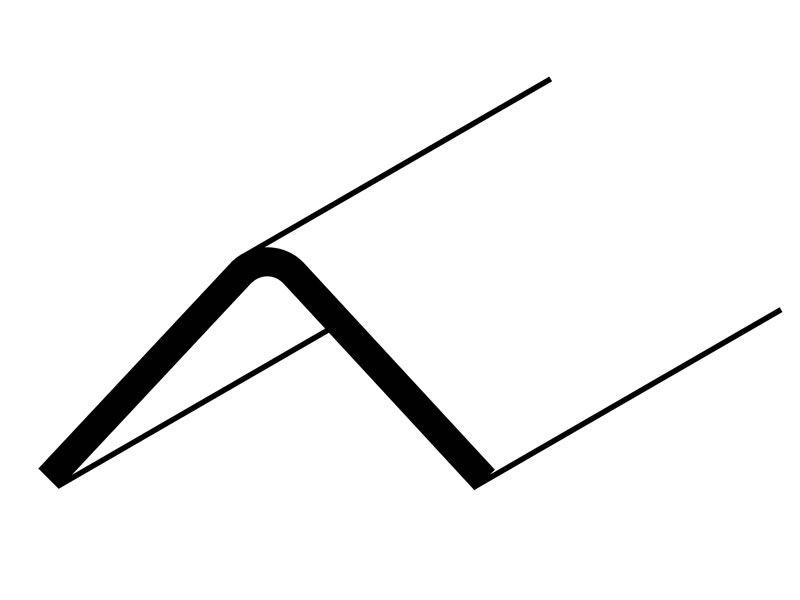
- Window Conversion Angles: These are a 25mm x 25mm, 90 degree Angle to create the required cavity on a frame face or fitted within a cavity to create a face to mount onto depending on the system being used to fit the glazing panes.
- Surface Preparation Wipes can be used to clean and degrease any surfaces before sticking the tapes in place.
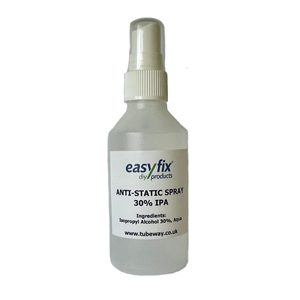
- Antistatic Spray can be used to diffuse the static charge on the sheet when the film have been removed to help prevent the attraction of dust and particles from the air.
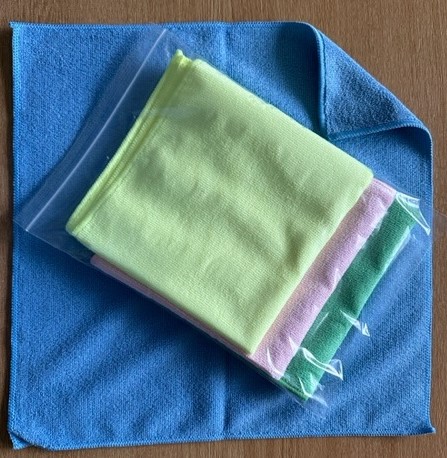
- Microfibre cloths can be used to clean the sheets without scratching the glazing panels.
- Privacy Frost; A frosted film that can be fitted to original or secondary panes to allow light through the window but retaining privacy from the outside world.
Trackglaze Horizontal: Uses the same deep track plus a shallower bottom track to enable a side to side sliding solution.
Ordering
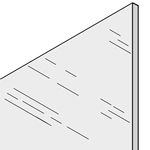
Polycarbonate Glazing Sheet
£59.00 per metre 2
Min height & width 100mm. Max size 2440mm x 1220mm
(height = largest dimension, width = smallest dimension)
N.B. Please check your dimensions carefully before ordering cut sheet as once this has been ordered and cut, it cannot be refunded.
Trackglaze Vertical 2m x 1.2m Kits
| Name | Price | Buy |
|---|---|---|
| Bulk Pack 3 x kits White | £104.00 | |
| Single kits White | £49.50 | |
| Bulk Pack 3 x kits Brown | £104.00 | |
| Single kits Brown | £49.50 |
Window Conversion Angles
| Name | Price | Buy |
|---|---|---|
| Pack 3 x 3m lengths White | £30.00 | |
| Pack 3 x 3m lengths Brown | £34.00 | |
| Bulk Pack 10 x 3m lgs White | £100.00 | |
| Bulk Pack 10 x 3m lgs Brown | £112.80 |
Large Mitre Block
£5.20
Anti Static Spray - 100ml Bottle
£4.00
Microfibre Cloths x 3 Large (random colours)
£4.00